Start with the keeper, not the colorway
Custom goalkeeper gloves are developed around an agreed combination of construction, materials, fit and branding. The scope can range from adapting an existing model to developing a more individual design. Ask which elements can change, what development work is required and whether any exclusivity is included; a custom logo alone does not establish an exclusive design.
Write a one-sentence product brief before choosing colors. For example: “A comfortable training glove for adult academy keepers who train several times a week on artificial grass.” That sentence helps you make choices about palm wear, fit, care instructions and price positioning. A match-focused glove for an experienced keeper may need a different balance.
The journey runs from inquiry and consultation through design review, confirmation, payment, production and shipping. The route below makes the technical and sampling decisions explicit. Timing, minimum quantities and pricing should always come from your current project quotation.
Eight decisions. One clear production brief.
- 01BriefAudience, quantity, destination
- 02SpecifyPalm, cut, fit and construction
- 03DesignArtwork, color and packaging
- 04SampleWear-test and record changes
- 05ApproveOne signed production reference
- 06ProduceAgreed checks and updates
- 07DispatchDocuments and shipping terms
- 08ReceiveCount, inspect and keep records
Move forward when the previous decision is documented. Sampling and revisions may add loops to the process.
Prepare a brief a manufacturer can actually quote
Send your approximate quantity, target customer, intended use, delivery country and required arrival date. Include a realistic budget range and say whether it covers the product only or the full landed order. If you have a target retail price, explain it as positioning rather than asking the factory to guess your selling costs.
Separate non-negotiable requirements from preferences. You might require an exact crest color and a particular wrist fit while being open to backhand construction suggestions. Attach reference images with a note explaining what you like about each: fit, texture, silhouette or closure. Do not assume that a photograph identifies the material grade.
| Brief field | Useful detail to send |
|---|---|
| Buyer & use | Brand, club or academy; training or match use; intended playing surface |
| Product direction | Reference model, preferred cut, palm requirements and wrist closure |
| Brand identity | Logo files, color references, placement and packaging ideas |
| Order breakdown | Pairs by model, color and size; identify estimates |
| Commercial brief | Budget basis, sampling needs and expected reorder plans |
| Destination & timing | Country, postal code, delivery contact and required arrival date |
Specify the palm: ask beyond the latex name
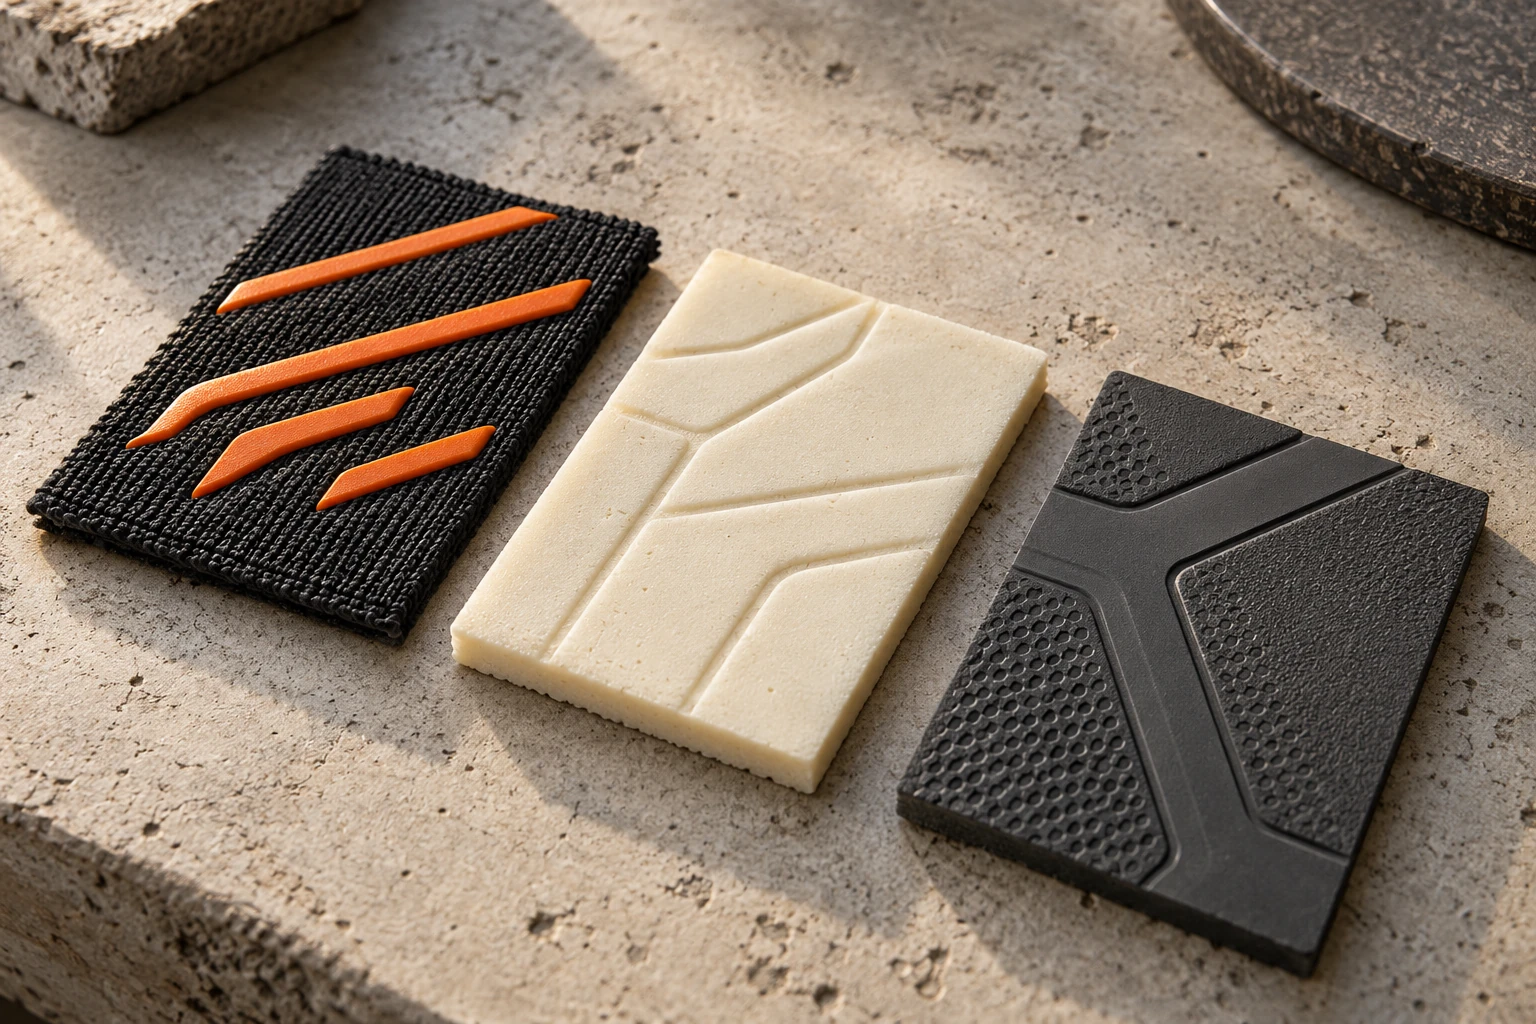
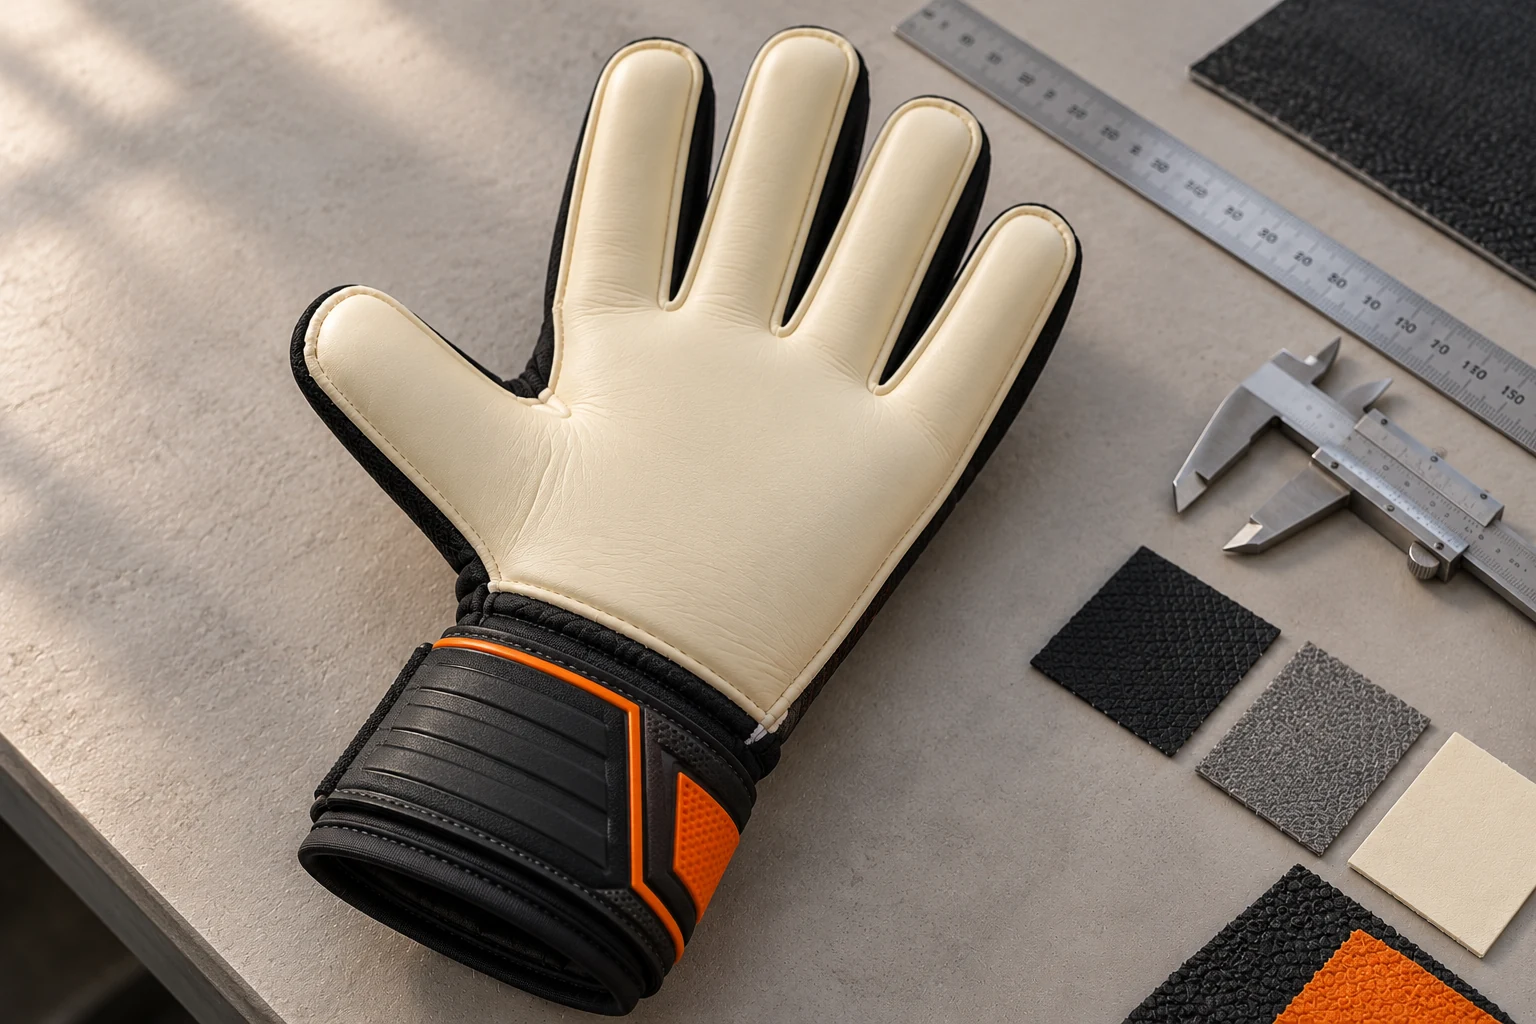
The palm is a material decision, not just a marketing label. Ask for the exact proposed compound or grade, its supplier identification where available, the latex thickness and any separate cushioning layer. A thickness statement should distinguish the grip surface from the foam backing. Two gloves with similar headline thickness can feel different.
Discuss grip, wear, weather, playing surface and care together. Softer match-oriented latex can prioritise grip while requiring careful handling; durability depends on the actual material and use. Test the proposed sample in the conditions your customer will encounter. Do not promise a fixed number of sessions or exceptional wet-weather performance without evidence for that model.
Ask whether a protective palm film is present and how the supplied glove should be prepared before first use. Follow the model’s care instructions; procedures are not identical for every latex. Record the approved palm specification so a later reorder does not quietly become a different product.
- Confirm latex and foam thickness separately where applicable.
- Request care and first-use guidance for the actual material.
- Ask how material substitutions would be proposed and approved.
- Compare samples using the same keeper, conditions and test routine.
Choose a cut and validate the fit
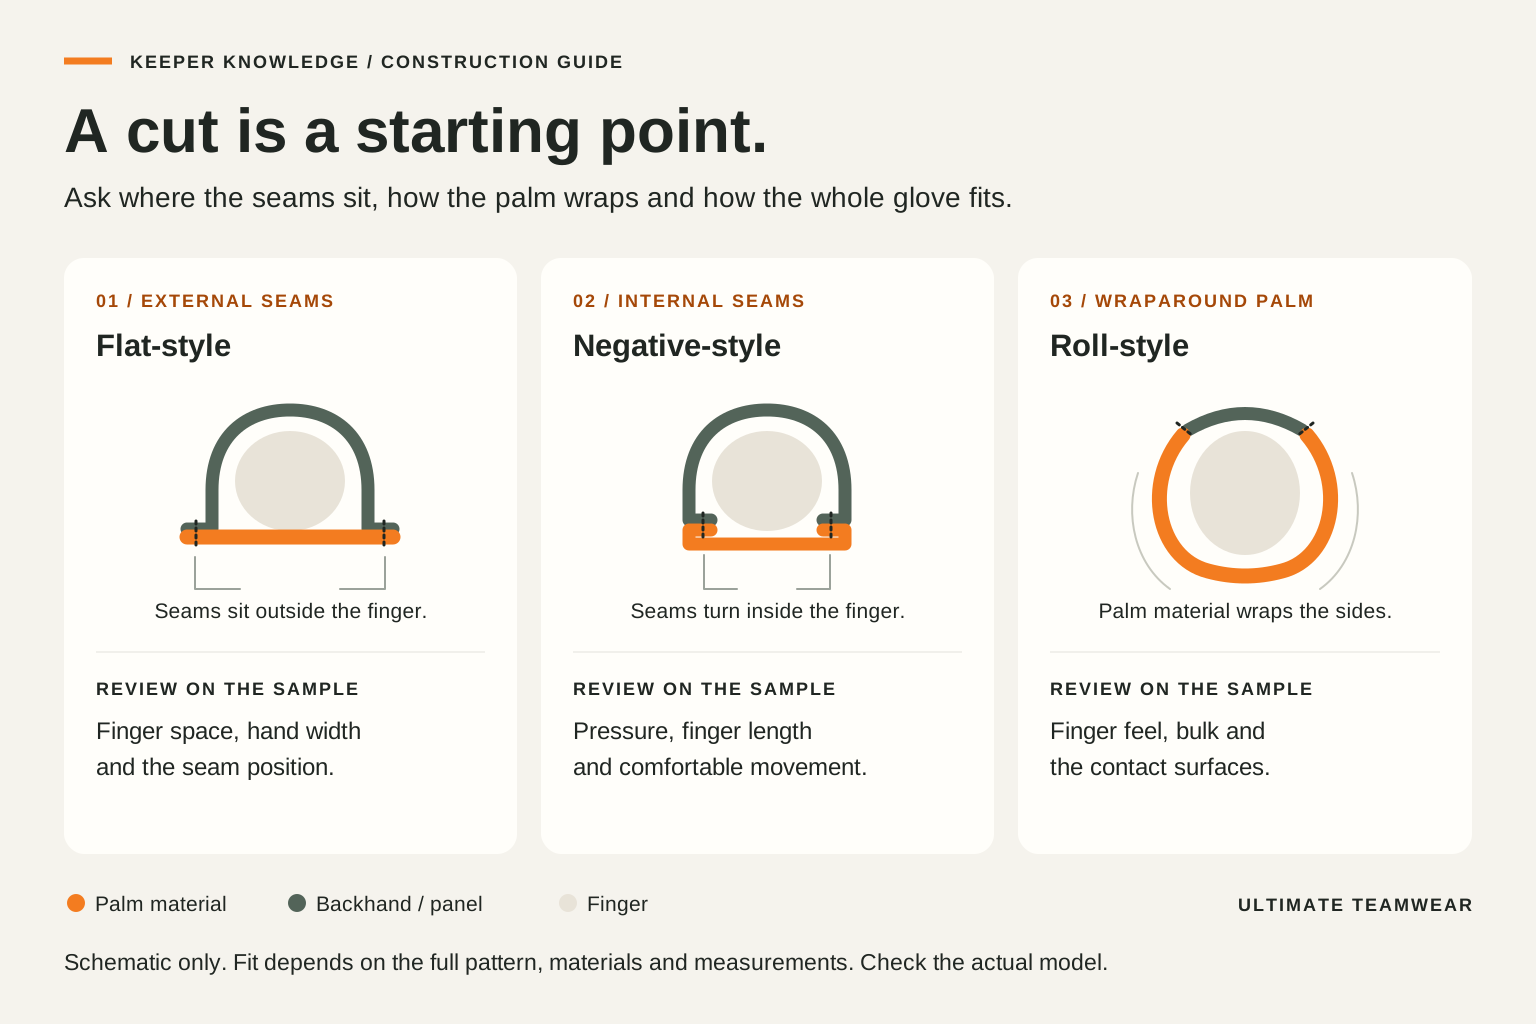
A cut describes how the palm and finger panels are constructed. Flat cuts generally place seams outside the fingers, negative cuts place relevant seams inside for a closer fit, and roll-finger constructions wrap the palm material around the fingers. Hybrid designs combine features. Those descriptions are starting points, not universal sizing rules.
Ask the keeper to open and close the hand, catch a ball and move the wrist. Check fingertip space, pressure at the seams, thumb mobility and whether the glove shifts during handling. A close fit should not depend on painful restriction. Size labels vary between brands and constructions, so use the supplier’s measurement method and confirm with physical samples.
| Construction | What to investigate in your sample |
|---|---|
| Flat palm | Finger room, external seam finish and palm shape |
| Negative cut | Internal seam comfort, finger volume and ease of removal |
| Roll finger | Wrap feel, flexibility and material bulk around the fingers |
| Hybrid | Which panels use each construction and how the transition feels |
Agree the backhand, wrist and optional details
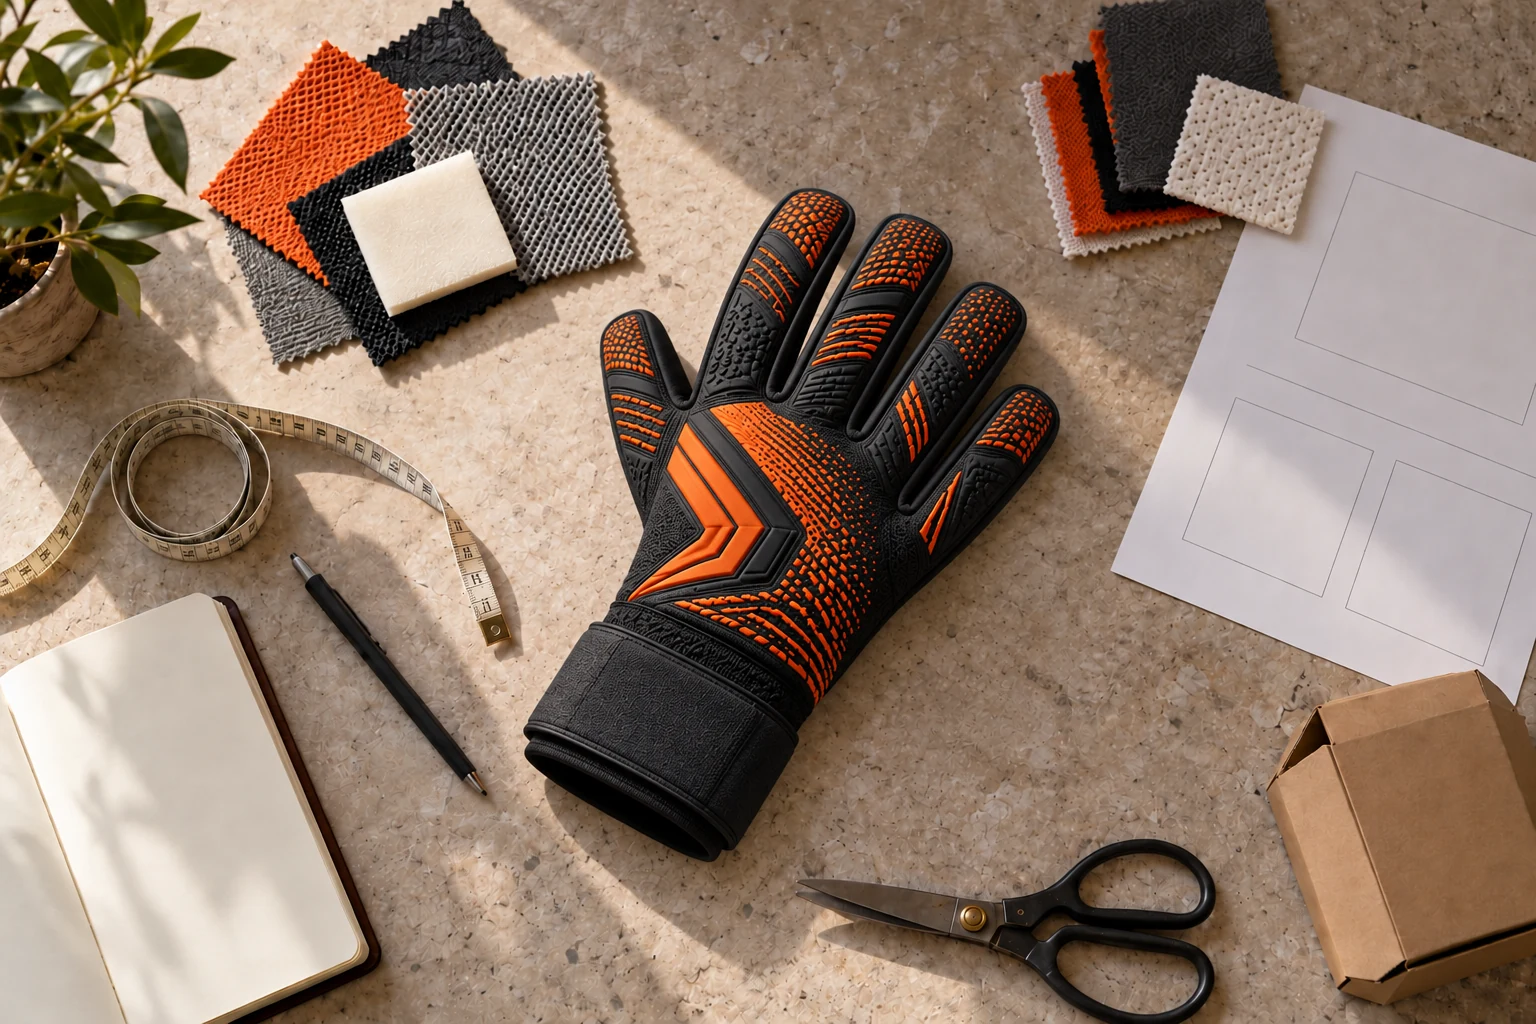
Review the backhand as a complete system: base textile, flexibility, ventilation, printed or molded elements, stitching and how it moves with the hand. More decoration does not automatically produce a better glove. For a training collection, ease of use and repeatable fit may be more useful than a complicated visual treatment.
Compare strap and strapless options on the actual keeper. Check how the cuff opens, whether the glove is easy to put on and how the closure behaves through wrist movement. If you request finger reinforcement, clarify its construction and removability and assess it in sampling. Do not present reinforcement as a guarantee against injury.
Bring accessories into the brief now: glove bag, care insert, size label, retail barcode and any personalization. Confirm what is included in the unit price and whether each component has a separate minimum or setup charge.
Build a size ratio before committing to volume
A large total quantity can hide the wrong inventory mix. For an academy, collect keeper sizes and arrange a fitting session with the chosen construction. For a new brand, use real expressions of interest and sample feedback to form an initial size hypothesis. For an established brand, review sales by size alongside stockouts and returns; a sold-out size can make historic sales understate demand.
The example below simply demonstrates an order sheet. These are not recommended proportions or an Ultimate Teamwear minimum order. Your actual size range and quantities should follow the people you expect to serve.
| Example size label | Illustrative pairs | Check before approval |
|---|---|---|
| 7 | 10 | Confirm against supplier measurement method |
| 8 | 25 | Review fitting or demand evidence |
| 9 | 35 | Review fitting or demand evidence |
| 10 | 20 | Review fitting or demand evidence |
| 11 | 10 | Confirm available size range |
| Total | 100 | Arithmetic example only; not an MOQ |
Turn the design into approved production artwork
Supply an editable vector logo when available, plus a clear reference preview. Identify logo placement, dimensions, colors and the exact spelling of names or model identifiers. If the logo belongs to a club or another organization, make sure you have permission to use it. Ask whether the chosen application method needs changes to very fine lines or small lettering.
Use digital colors to communicate direction, then agree physical references when color matching matters. Screen brightness, lighting, fabric and printing method can alter perceived color. Review the palm, backhand, cuff, side details, labels and packaging together; a single front mockup leaves too much undefined.
Give each revision a version number. Combine feedback into one annotated document and make the final approval explicit. Ask how many design revisions and samples are included, and how additional development is charged. Keep the final artwork alongside the specification, rather than approving through scattered messages.
Test a sample before approving the full order
First confirm what the sample represents. Is it the intended construction and material, the final artwork, or a fit sample with temporary substitutes? A sample is only useful when its differences from the proposed production version are written down.
Run a consistent review: inspect the stitching and material finish, check measurements using the agreed method, then evaluate fit, wrist movement, ball handling and comfort during controlled sessions. Record the keeper, surface, conditions, duration and care routine. Photographs and specific observations are easier to act on than “make it more premium.”
Separate an observable defect from a preference and from expected wear. For example, an open seam is a different issue from a request for more fingertip room. Agree the changes, identify who approves them and decide whether a revised physical sample is necessary. Keep an approved reference sample and dated photographs for the production comparison.
| Review area | Evidence to record |
|---|---|
| Fit & movement | Size, pressure points, finger room and closure behavior |
| Construction | Seams, bonding, alignment and left/right consistency |
| Palm performance | Use conditions, handling observations and visible wear |
| Branding | Artwork version, placement, dimensions and color reference |
| Packaging | Size identification, bag, care insert and carton requirements |
Three approvals should agree.
Technical approval
Correct palm, cut, measurements, wrist system and construction.
Visual approval
Correct artwork version, color reference, placement and packaging.
Commercial approval
Correct size quantities, price, payment milestones and delivery responsibilities.
A digital mockup approves appearance. A physical sample helps you approve fit and construction. Neither replaces the purchase order.
Compare complete quotations and confirm payment milestones
Compare like-for-like specifications. A lower unit price can exclude a glove bag, sampling, development, freight or destination charges. Ask for an itemised quotation and its validity period. Confirm the minimum quantity by model, color and size, and how a change in quantity affects the price.
The approved order should reconcile the technical specification, artwork version, sample approval, size quantities, invoice and shipping arrangements. Get the agreed payment milestones and the event that triggers each one in writing. Check the payee details against the business information you have verified, especially if payment instructions change.
Unit cost and total cash commitment answer different questions. Buying more pairs may reduce unit cost while tying up more cash in unproven sizes. Request the quantities that make sense for your demand evidence, rather than increasing an order only to reach a discount.
- Product and packaging inclusions, with optional extras separated.
- Sampling, revisions, tooling or setup charges where applicable.
- Payment stages, currency and any transfer charges.
- Production schedule and the approval/payment event that starts it.
- Inspection, defect reporting and agreed remedy terms.
Plan production, quality checks and delivery separately
Work backward from the date you need saleable stock. Keep distinct allowances for artwork, sampling, revisions, material availability, production, inspection, transport and customs clearance. Ask for a project-specific schedule and leave space for corrective work. An older article’s typical timetable is not a delivery commitment for your new order.
Before production begins, agree what will be checked and how results will be shared. Depending on the project, this can include material identification, construction checks, measurements, artwork placement, size counts and packing. Specify the inspection scope rather than assuming every unit receives every possible test. Confirm what happens if a check fails before dispatch.
For buyers in the USA, UK, Canada, Australia, Europe or South America, state the exact destination and postal code. Ask who arranges freight, who acts as importer, and who pays applicable duties, taxes, clearance and delivery charges. “Door-to-door” describes a delivery destination; it is not enough to establish who pays every charge. Have the chosen shipping terms and responsibilities recorded in the quotation.
Confirm the commercial invoice, packing list, parcel or carton details and tracking arrangements appropriate to the shipment. Destination requirements vary; resolve unfamiliar import or labelling requirements with an appropriate local adviser before production. Avoid announcing a launch solely from an estimated dispatch date.
Receive, inspect and turn the order into a repeatable system
Count the received pairs by size and model, inspect the outer packaging, and compare the products with the approved specification and reference sample. Check a sensible spread across sizes and cartons. Document any concern with dated photographs, product references and a precise description, then raise it within the agreed reporting terms.
Keep the approved artwork, sample record, specification, size breakdown, invoice and shipping documents together. Record keeper feedback and returns by issue so your reorder has a clear improvement brief. Confirm that the repeat order uses the same agreed materials and construction, or approve documented changes before it starts.
For clubs and academies, hand out care instructions with the gloves and record which keeper receives each pair. For brands, use what you learned to improve the size guide and product page. A well-documented first order should make the second order easier to specify.
Your first inquiry: a ready-to-use checklist
You do not need a finished technical pack to begin. You do need enough information for a useful conversation. Send the checklist below with your references, then work through unanswered technical questions with the team.
- Who the gloves are for, and the intended training or match use.
- Approximate pairs and size breakdown, marking estimates clearly.
- Preferred model or cut, palm requirements and wrist closure.
- Logo files, color direction and annotated reference images.
- Packaging, care-card and personalization requirements.
- Sampling priorities and the decisions you need the sample to answer.
- Delivery country, postal code and required arrival date.
- Budget basis and the items you need included in the quotation.
Put it into practice
Your next steps
- Define the keeper and use case before selecting materials.
- Approve a documented specification, artwork version and sample.
- Compare complete costs and destination responsibilities.
- Keep the first order’s records ready for a consistent reorder.
Send your quantity, delivery country and design references. We can help turn your starting point into a clear custom glove brief.
Discuss your project