Separate the backhand design from the palm specification
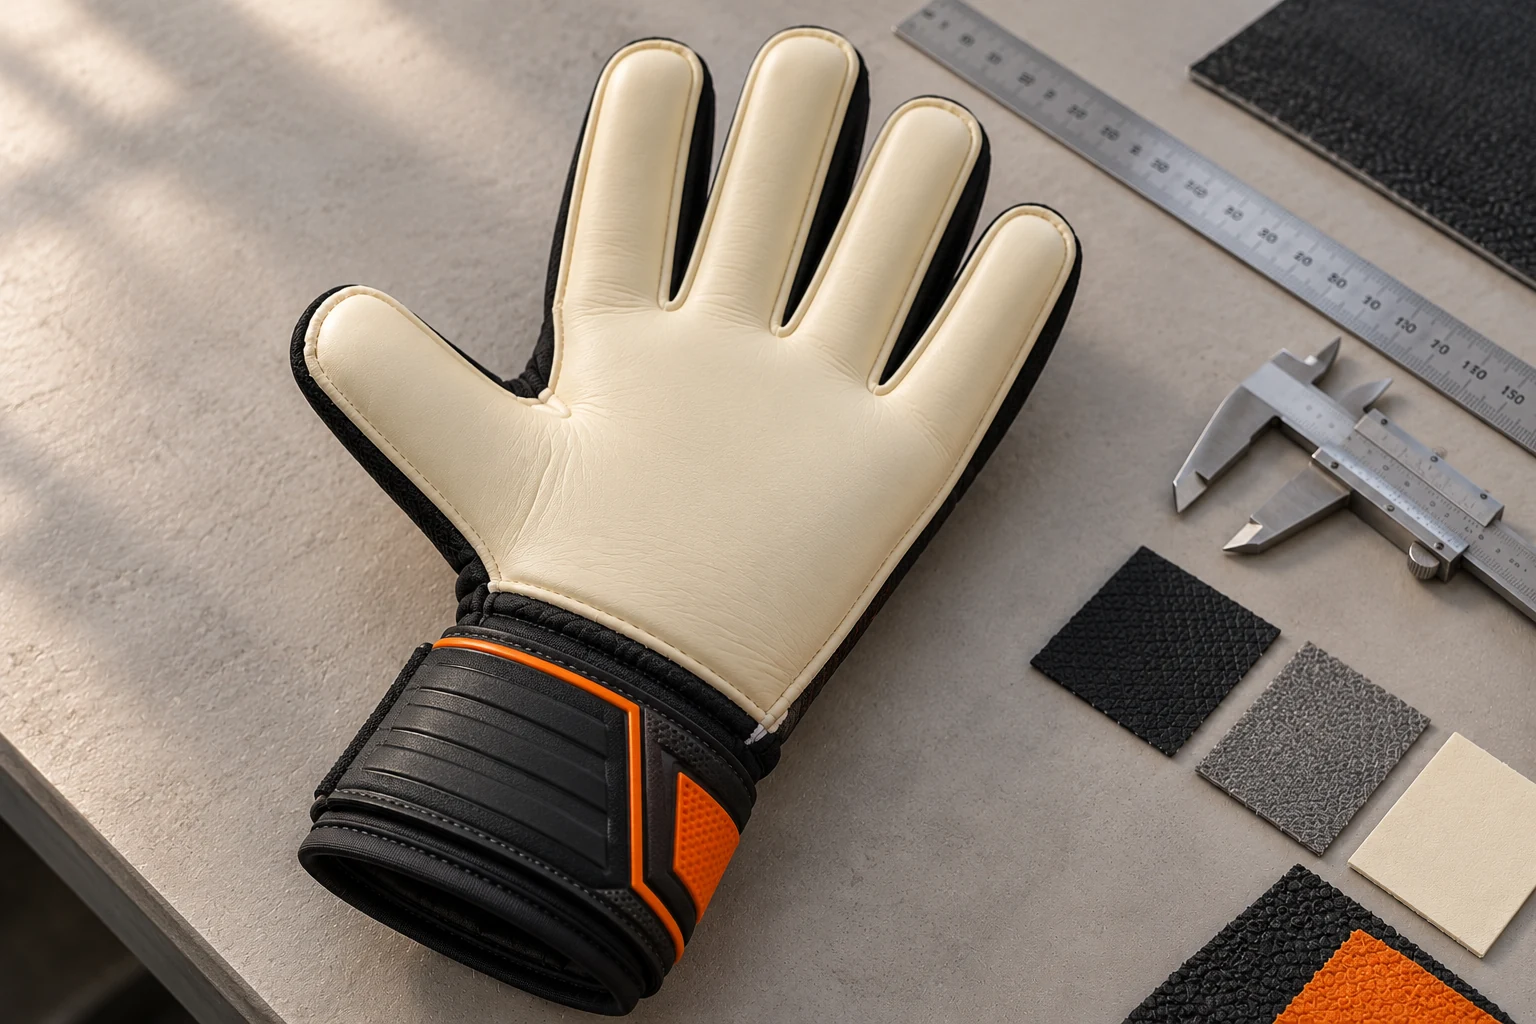
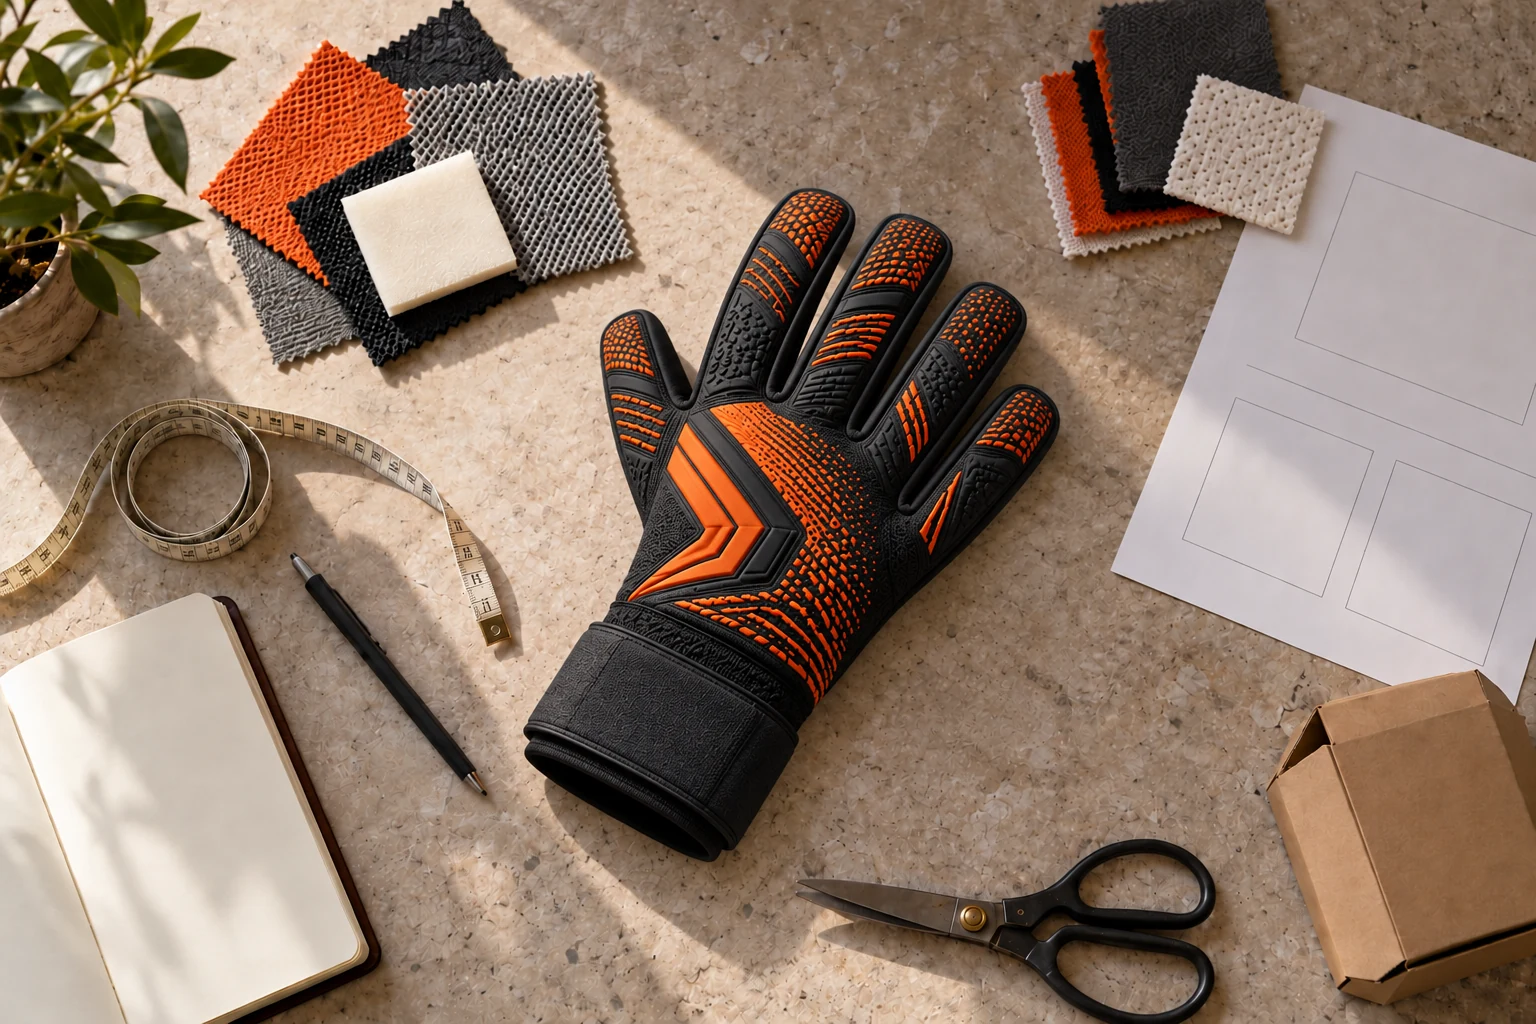
The backhand is the outward-facing side of the glove. The palm is the contact surface that meets the ball. Keep their specifications separate in your artwork and quotation. A drawing that places a punch-zone treatment on the palm or mixes the two views creates confusion before sampling begins.
Label every view clearly: left or right glove, palm or backhand. Identify the finger panels, thumb, cuff and fastening. Show the intended material in each area rather than relying on a realistic-looking render to communicate construction.
Understand the four options in your design conversation
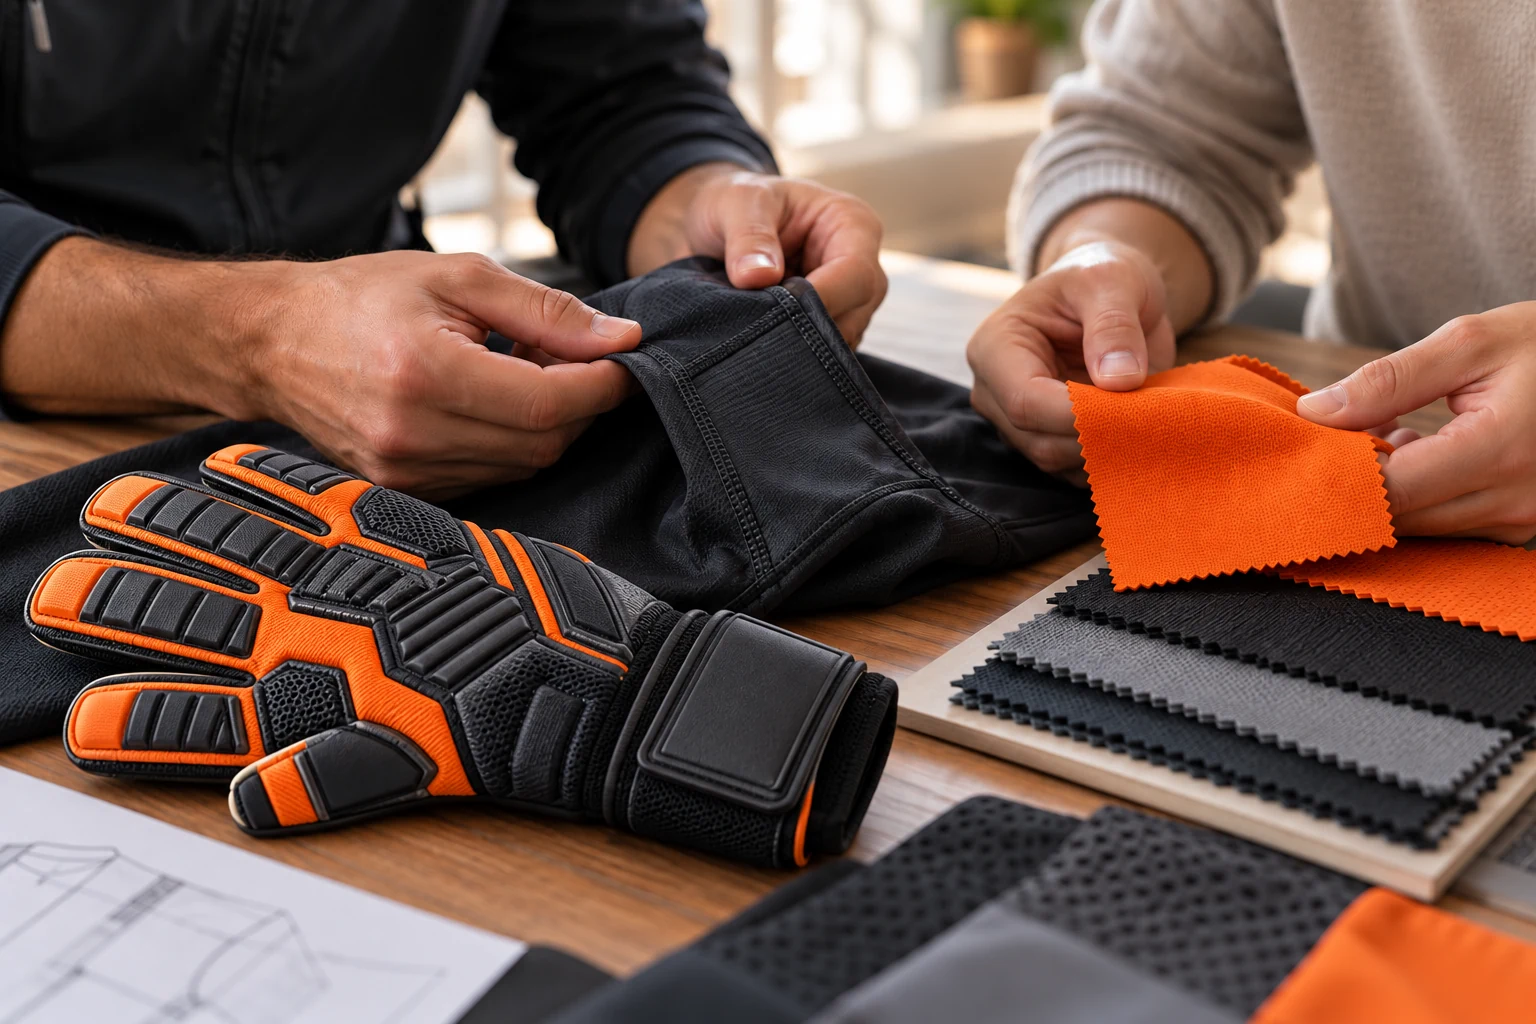
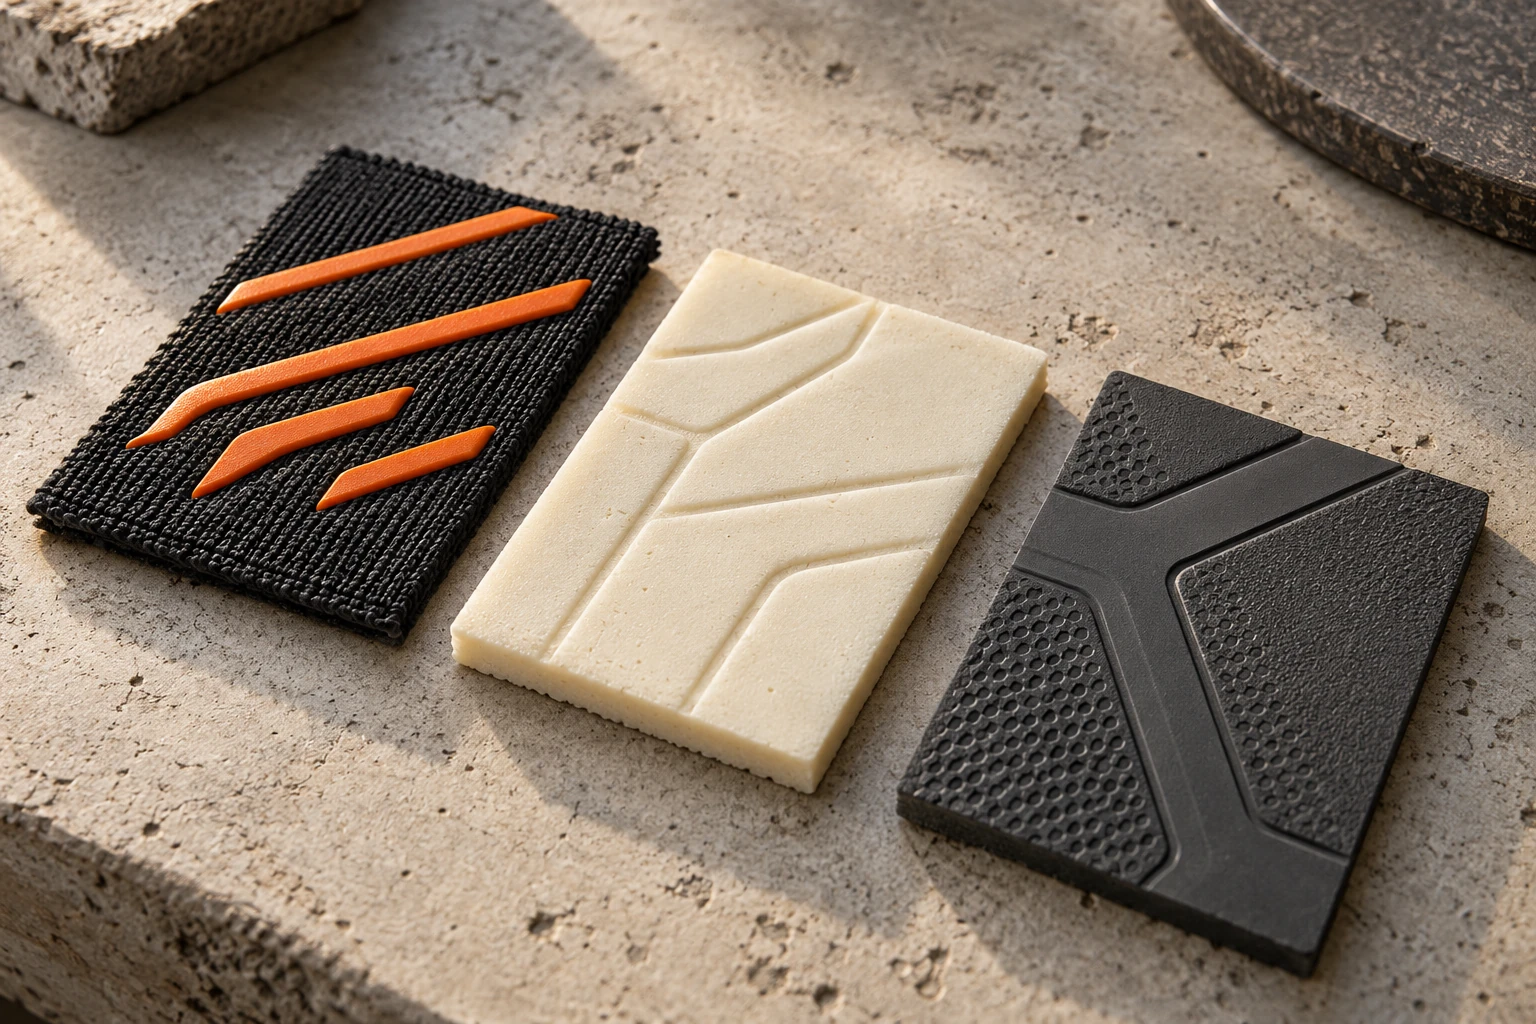
Use the method name alongside the actual material and location. “Rubber”, “silicone” and “latex” should not become interchangeable labels for any raised shape. Ask the manufacturer to describe the proposed construction in plain language and show a relevant sample.
The table is a specification checklist, not a ranking of performance. The best choice depends on the design, underlying panel, cost and how the finished sample feels.
| Option | Design conversation | What to approve |
|---|---|---|
| Silicone print | A printed treatment on the agreed compatible panel; no separate mould for this option | Line definition, coverage, flexibility and finish |
| Moulded rubber element | A raised component with its own shape and attachment method | Tooling, thickness, edge finish and attachment |
| Embossed latex | A relief pattern formed in the specified latex panel | Panel material, relief definition and flex |
| Sublimation print | Colour and graphics on a compatible textile panel | Base fabric, colour result and artwork alignment |
Choose a method for the design, not for a buzzword
If the identity depends on fine graphic lines, begin by checking the printable line widths and spacing. A detailed screen image may contain features too delicate for the selected treatment. Ask for the minimum workable detail and simplify intentionally instead of waiting for a poor sample.
If the identity depends on raised geometry, define the height, edge treatment and placement you expect. Request confirmation of how a separate element is attached. Do not assume a raised component automatically makes a glove more durable or improves punching; those claims need suitable evidence.
For a fabric-led design, agree how much of the textile texture remains visible. A large coverage area can change the appearance and feel. Explain which texture, stretch and hand movement you want the sample review to evaluate.
Make tooling decisions before finalising the size range
Moulded or embossed details may require tooling for the design and size. As a planning reference, a one-time charge can fall around $30–100 per design and size, subject to the actual brief and quotation. Printed silicone and sublimation options do not require that same mould setup, although sample and production costs still apply.
Ask which sizes a proposed tool covers, what changes require a new tool and how a repeat order would be handled. Record the approved artwork version alongside the tool reference. A later logo change or revised shape may have consequences beyond changing the digital file.
For a small launch, compare the complete cost of your preferred raised design with a print-based alternative. The comparison should include the sample, tooling and first production batch, not just a headline price per pair.
Review the physical sample from several angles
Check the glove with the hand open, fingers bent and fist gently closed. Look for uncomfortable pressure, catching edges, restrictive coverage or areas that behave differently from the design intent. Record observations consistently; a photograph cannot fully show flexibility or fit.
Inspect the finger panels and thumb separately from the central backhand. Ask whether a visible seam, join or alignment difference is expected construction or something to revise. Compare the left and right gloves, and photograph the same views when reviewing an updated sample.
- Check material and treatment against the written specification.
- Inspect print edges, raised shapes and attachment points.
- Review flex around fingers, knuckles, thumb and cuff.
- Compare logo placement and colour with the approved reference.
- Document changes with marked photographs and a version number.
Turn feedback into a production-ready approval
“Make it more premium” is difficult to action. “Reduce the orange coverage near the finger joints, retain the visible knit and move the logo clear of the seam” gives the supplier a concrete revision. Separate visual preferences from fit or construction issues so each can be resolved.
Approve the physical sample and the final written specification together. List the panel materials, decoration method, artwork version, colours and any agreed tolerances. Confirm that substitutions require discussion. Keep a reference sample available for the next order and update your product photography if the approved construction changes.
Put it into practice
Your next steps
- Name the material, application method and glove zone separately.
- Keep palm and backhand artwork clearly labelled.
- Confirm tooling across the intended size range.
- Approve movement and finish on a physical sample.
Have a backhand idea but need help choosing a production method? Send your artwork or inspiration and tell us which materials and textures you want to retain.
Discuss your project